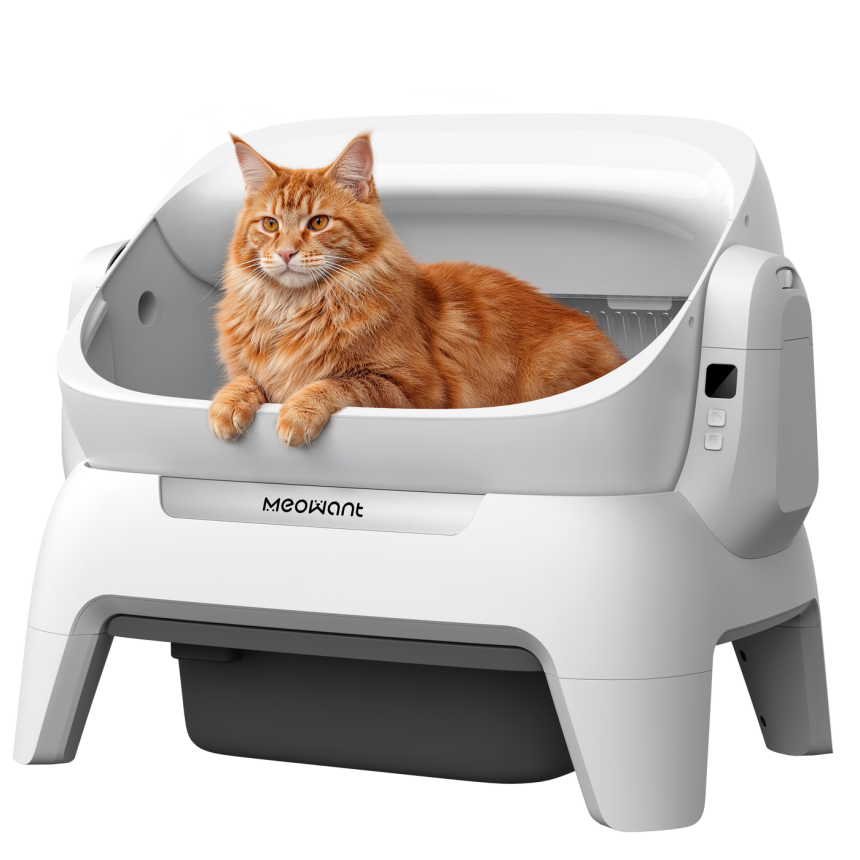
Bringing home automatic cat litter boxes is easy. Getting the cat to use one is the part that separates a smooth upgrade from a month of negotiation. The machine arrives, the owner unboxes it with genuine enthusiasm, and the cat responds by treating the new appliance as a hostile intruder. It is a predictable scene, and it is almost always avoidable with the right sequence of steps.
This is a walkthrough rather than a buyer’s guide. It assumes the box is already in the house and focuses on what to do in the first few days, how to read your cat’s signals, and what to adjust when progress stalls. Follow the sequence in order and most cats will accept the unit within a week. Skip a step and the same cat may need a month, or may never settle at all.
Before the First Cycle: Preparation
Set the box up near the old one, in the same room and at a similar height. Do not clean the old box out of existence yet. The new unit should feel like an addition to a familiar routine, not a replacement for it. Assemble everything that requires energy, pairing, or firmware updates before your cat is even in the room, since a machine that beeps and flashes while being configured is exactly the kind of thing a cautious cat remembers.
Choose a level, hard surface and make sure there is a power outlet within reach without stretching a cord across a walkway. Add a small mat in front of the entrance to catch tracking. If the old box had a particular orientation, such as an open side facing the room, match it as closely as possible. Cats memorize approach routes, and a small alignment makes the new box feel more familiar.
Litter and Scent
Use a litter your cat already knows, even if the automated unit was designed with a different type in mind. The transition is not the time to introduce two changes at once. Once the cat has used the box for a week, you can gradually shift the brand if you want to. Fill to the marked line, not above it, because overfilling makes the mechanism spill and struggle.
Add a small amount of used litter from the old box to the new interior. The scent tells the cat that this unfamiliar object is a place where going to the bathroom is expected. Do not add so much that the box becomes messy, since a strong smell can also signal unsafe conditions to a nervous animal. A pinch or two of used clumps is enough to carry the message.
Day One to Day Three: Let the Box Be Inert
For the first two or three days, leave the automated mechanism off and scoop manually, exactly as before. Your cat should be able to inspect the new box, smell it, and use it without any movement or noise. This single step prevents most rejections, because cats are far more wary of a moving object than of an unfamiliar shape. The machine can wait. The cat’s trust is the priority.
Watch from across the room rather than hovering. If your cat investigates the entrance, sniffs the edge, and walks away, let it happen. Repeated, low-pressure exposure is more effective than coaxing. If your cat uses the box on day one, that is a good sign, but keep the mechanism off until it has done so at least twice without hesitation.
Introducing the Cycle on Day Four
Turn the machine on while your cat is out of the room, and let it run a full cycle so you can confirm the mechanism is smooth and the timer behaves as expected. Then invite your cat back. If it shows interest, stay nearby and speak calmly. Do not force it to watch. The goal is for the sound to become background noise rather than a warning.
Set the wait time as long as possible for the first week. A long delay means the machine will not start while the cat is still nearby, which is the most common cause of avoidance. Every cycle that runs while the cat is in the room confirms the fear that the box is unpredictable. Give the litter time to clump and the cat time to leave.
Reading the Signals
Success looks like a cat that enters the box, uses it, exits without hurry, and does not react when the cycle begins later. Trouble looks like lingering at the entrance, repeated sniffing, or using the box only when it is not running. Another warning sign is a cat that starts going just outside the entrance, which often means the interior feels crowded or the cycle has scared it.
If you see hesitation, check the basics before making changes. Is the drawer full? Is the litter the usual brand? Is the machine too noisy or too fast to start? Correct one thing at a time and give it a day. Multiple simultaneous changes make it impossible to know what worked, and cats need time to reassess anyway.
When Progress Stalls
If two weeks pass and the cat still avoids the automated box, do not push. Keep the manual box available and give the machine a rest for a few days. Then reintroduce it with the cycle off, as on day one. Some cats need a second, slower round. Others need the entrance raised or lowered, or the unit moved to a quieter corner.
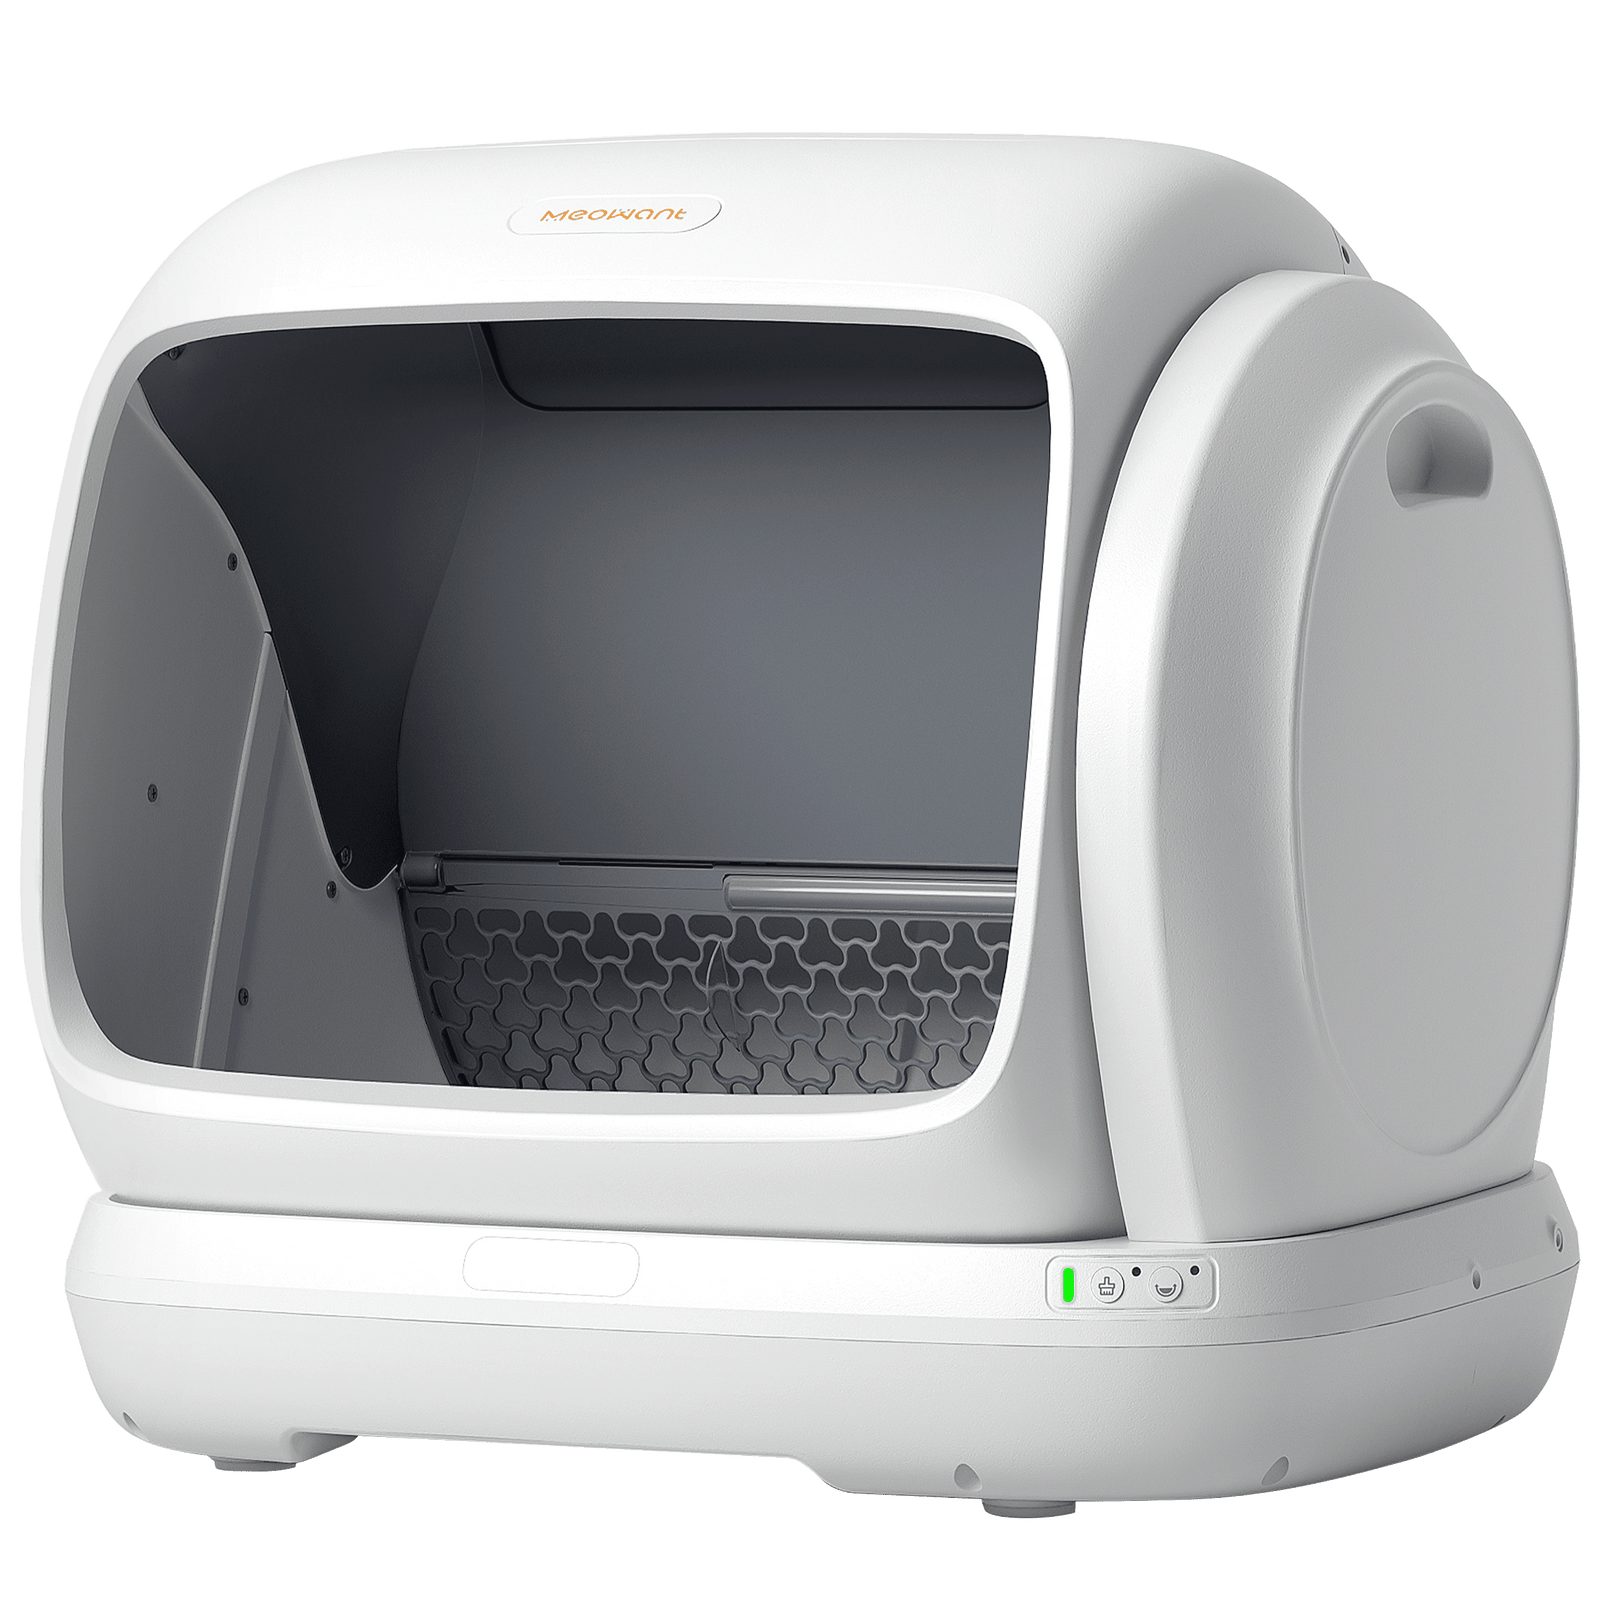
Physical adjustments help more than most owners expect. A small step at the entrance makes the box accessible to a senior cat. Rotating the unit so the entrance faces the room gives a cat a clear exit path. Reducing the cycle frequency, if the model allows it, lowers the amount of motion in the environment. Look for these simple fixes before concluding that your cat will never accept automation.
Keeping the Backup Box
Keep one manual pan available permanently, even after the automated unit is in daily use. The backup covers cleaning days, power outages, and the occasional service. It also satisfies the rule of one box per cat plus one in multi-cat homes. Brands such as Meowant make interior trays that lift out for cleaning, which shortens the time your cat is without an option, but a separate manual pan is still the simplest safety net.
Place the backup in a different room so it does not compete directly with the automated unit. Cats often prefer separate locations, and a second spot reduces the chance of a conflict between housemates. Both boxes should be kept clean, because a neglected backup is not a real backup.
If you have more than two cats, consider adding a second automated unit rather than stretching one machine across the household. Cycle frequency rises with every cat, and a busy unit can feel like a queue. Two smaller boxes in separate rooms often work better than one large unit in a central spot, and the cats will spread themselves between them.
Building a Maintenance Routine
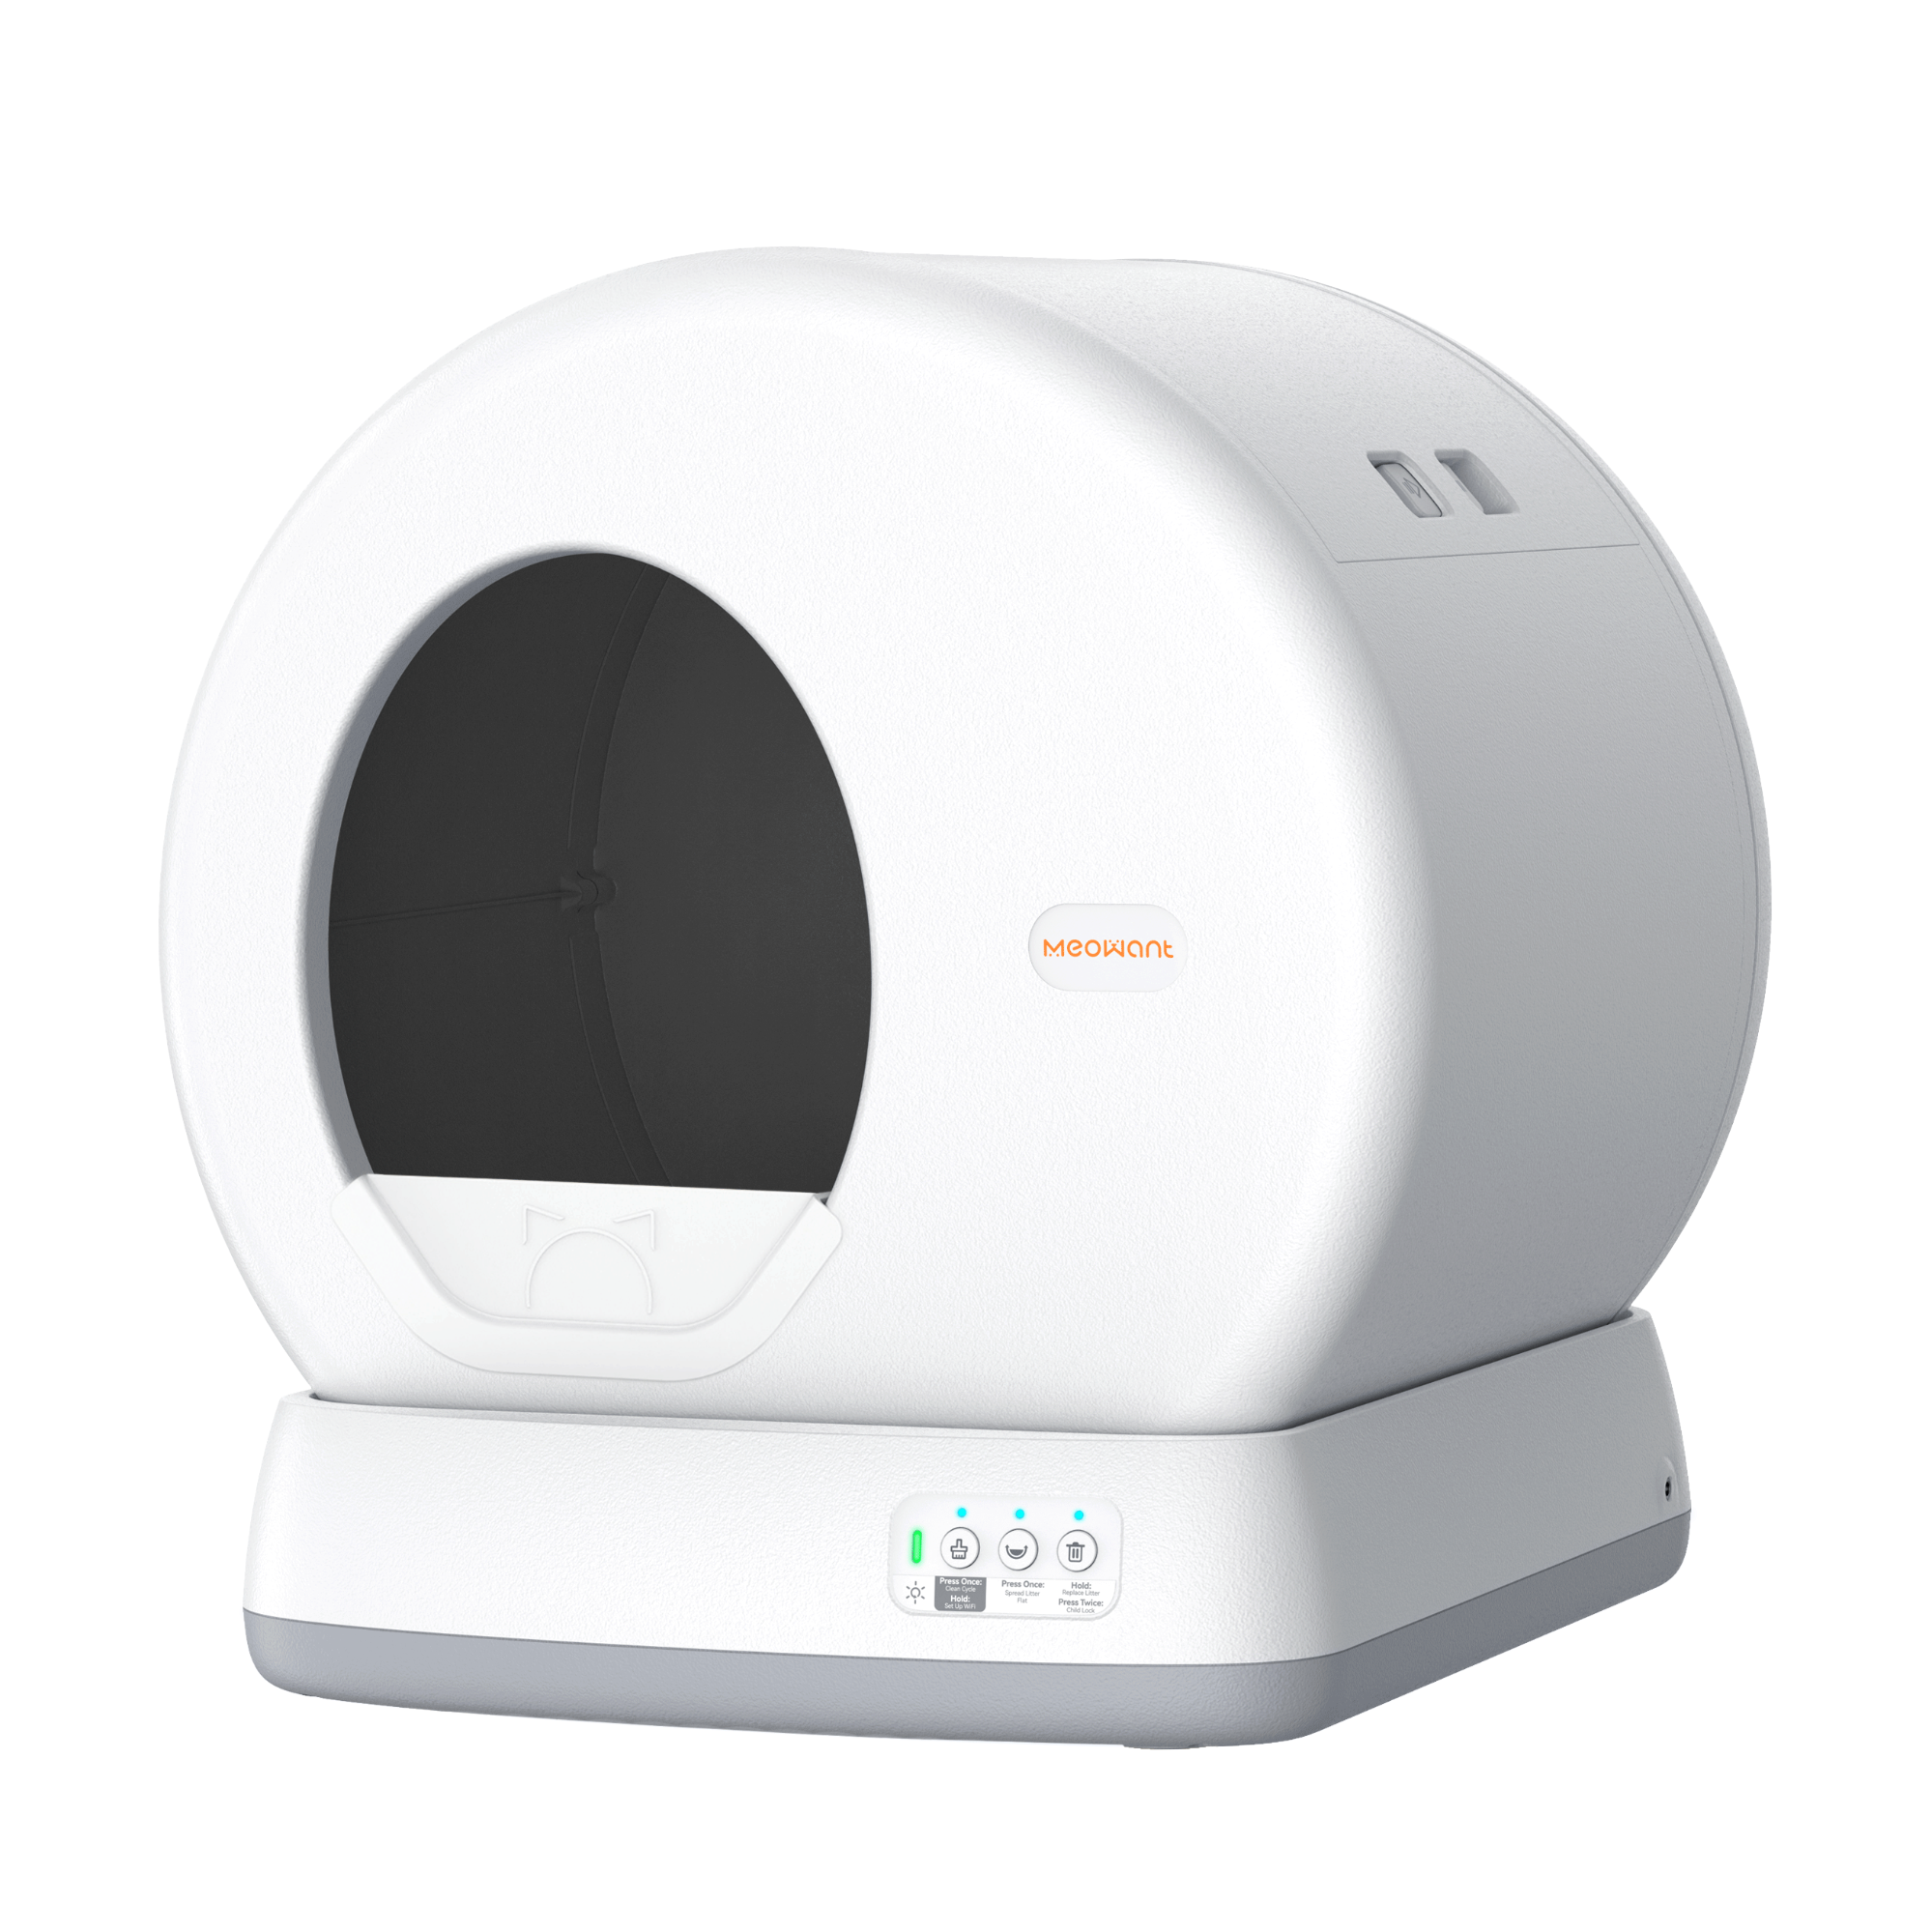
Once the cat is settled, establish a simple schedule. Empty the drawer when it reaches the marked line, not after it is packed. Wipe the interior once a month with mild soap and warm water. Clean the sensor windows so the unit keeps detecting correctly, and replace the carbon filter on the manufacturer’s schedule. A automatic cat litter boxes unit that stays clean also stays quiet, and quiet machines are the ones cats tolerate.
Note the date of each maintenance step so patterns are easy to spot. If the machine starts cycling oddly or your cat begins avoiding it, the log usually points to the cause: a full drawer, a worn filter, or a missed wipe-down. A few minutes of record-keeping saves hours of guessing.
Keep spare liners and a filter on hand, since the most common cause of a sudden odor problem is an empty supply shelf. Store them near the box so replacing them is a thirty-second job rather than a trip to the store. A small basket in the same room works well and reminds you to check the drawer when you reach for a bag.
A Week of Patience, Years of Quiet
The setup sequence matters more than the feature list. Place the new unit beside the old box, use familiar litter, add a pinch of used scent, and keep the mechanism off for the first few days. Then introduce the cycle slowly with a long delay, and adjust the entrance and orientation if your cat hesitates. Keep a manual backup available throughout.
Done in that order, most cats accept automatic cat litter boxes within a week. The daily scoop disappears, the room smells fresher, and the machine becomes unremarkable background equipment. That is the outcome worth planning for, and it costs only a little patience at the start.